> ## Documentation Index
> Fetch the complete documentation index at: https://docs.abbyy.com/llms.txt
> Use this file to discover all available pages before exploring further.
# Creating a flow action
> Create a Pega flow action in Dev Studio that lets users enter case data, display the FlexiCapture verification page, and add files to the case.
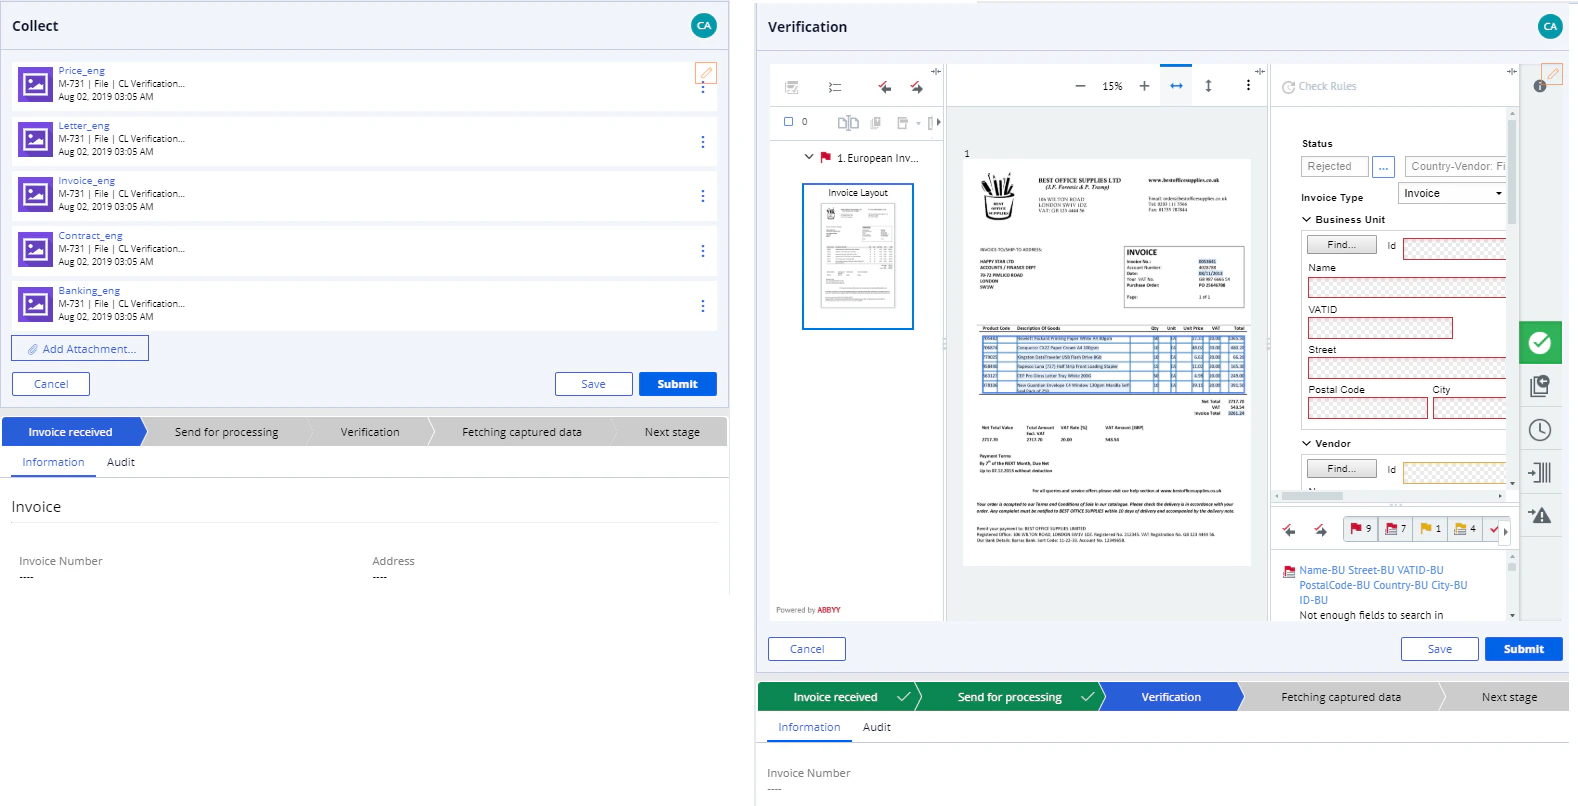
A [flow action](https://community.pega.com/sites/default/files/help_v63sp1/Content/definitions/f/flowaction.htm) allows the user to enter and modify case data. In the example below, a flow action will be used to [display the verification page](/flexi-capture/connectors/pega/pega-verification-section) and controls for [adding files to the case](/flexi-capture/connectors/pega/pega-collect).
 To create a flow action, do the following:
1. In **Dev Studio** click **Records → Process → Flow Action →** **Create**.
2. Fill in the **Label** and **Identifier** fields. Next, select the application containing the case and replace "Rule-Obj-Activity" in the **Apply to** field with the full name of the case.
To create a flow action, do the following:
1. In **Dev Studio** click **Records → Process → Flow Action →** **Create**.
2. Fill in the **Label** and **Identifier** fields. Next, select the application containing the case and replace "Rule-Obj-Activity" in the **Apply to** field with the full name of the case.
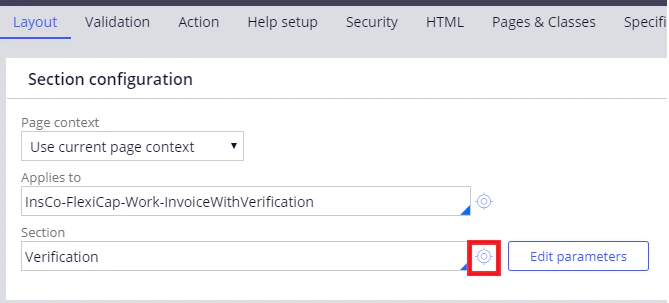
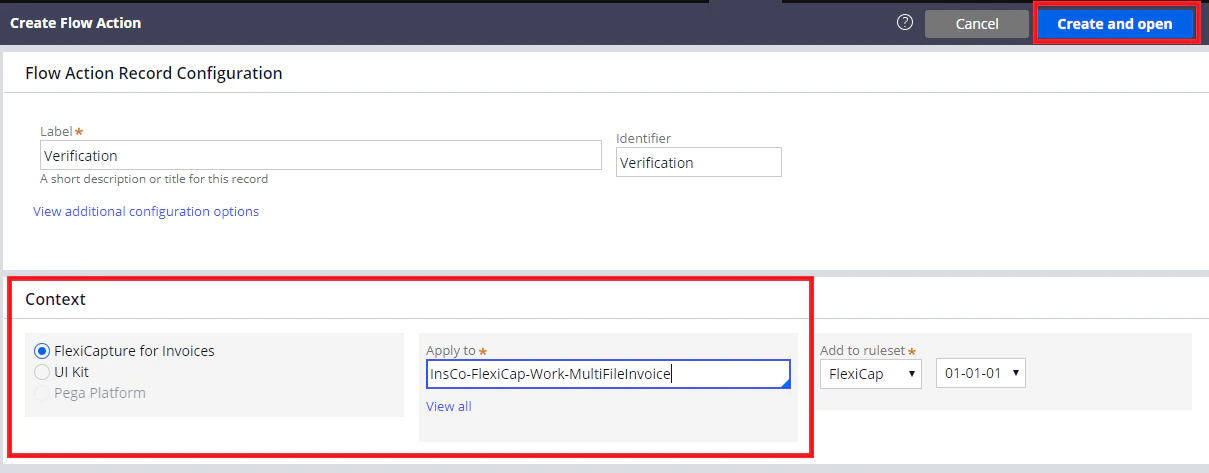 3. Click **Create and open**. On the **Layout** tab, specify the section name in the **Section** field. Next, click the configuration button to the right of the field.
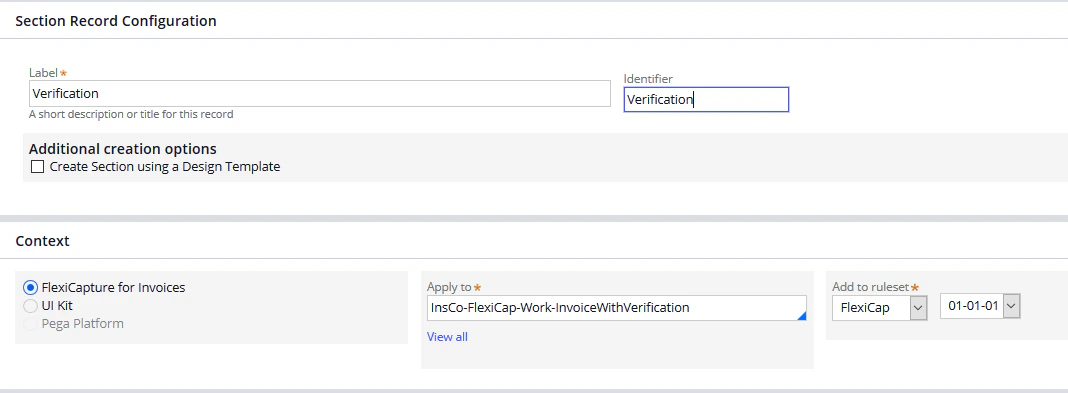
 4. In the dialog box that opens, fill in the **Label** and **Identifier** fields. Next, select the application containing the case and check that the full name of the case type is specified in the **Apply to** field.
5. Click **Create and open**. To view a list of all sections, open **Dev Studio** and click **Records → User Interface → Section**.
4. In the dialog box that opens, fill in the **Label** and **Identifier** fields. Next, select the application containing the case and check that the full name of the case type is specified in the **Apply to** field.
5. Click **Create and open**. To view a list of all sections, open **Dev Studio** and click **Records → User Interface → Section**.