> ## Documentation Index
> Fetch the complete documentation index at: https://docs.abbyy.com/llms.txt
> Use this file to discover all available pages before exploring further.
# Gmail IMAP Import Configuration Using OAuth 2.0
> Walk through Gmail IMAP import configuration in ABBYY FlexiCapture using OAuth 2.0: sign in to Google, pick a mailbox folder, and test batch creation.
This section provides details on configuring Gmail import using OAuth 2.0 credentials for IMAP image import profiles.
To configure Gmail import using OAuth 2.0, do the following.
1. Create a project and upload it to the PreProd server.
 2. Configure IMAP Image Import Profile using Gmail.
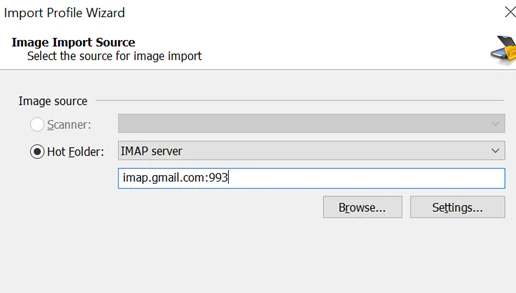 3. Select the source for image import.
4. Open the image import profile configuration.
3. Select the source for image import.
4. Open the image import profile configuration.
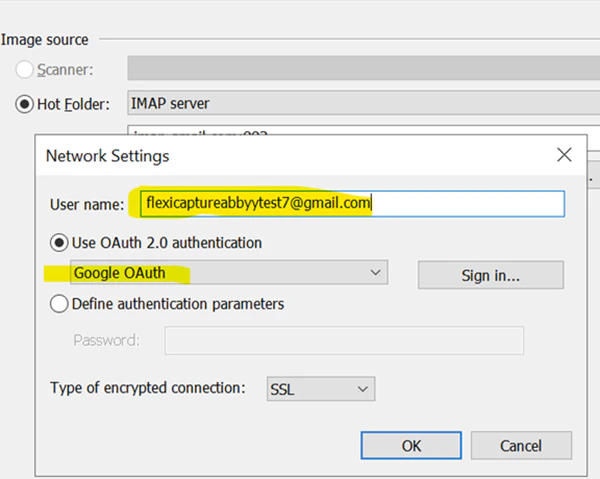 5. Enter your Gmail ID.
6. Click Sign-in to initiate OAuth authentication. A Google OAuth window will appear.
5. Enter your Gmail ID.
6. Click Sign-in to initiate OAuth authentication. A Google OAuth window will appear.
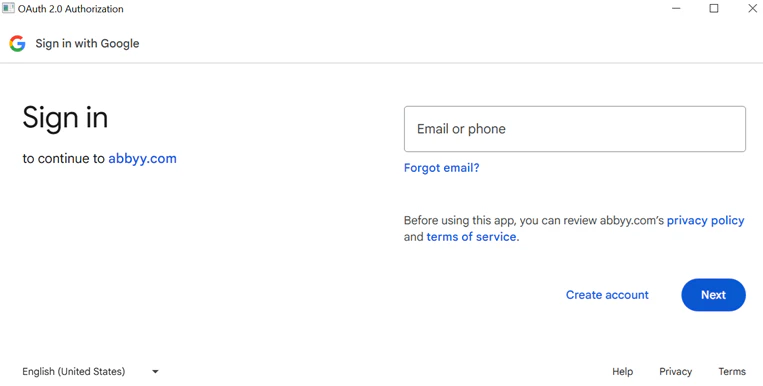 7. Enter your Gmail account and click Next.
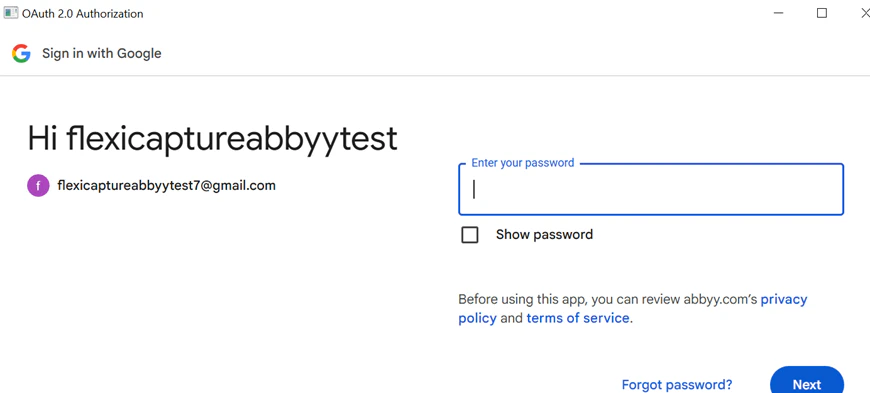
8. Enter your password.
7. Enter your Gmail account and click Next.
8. Enter your password.
 9. Review the trust message and click **Continue**. If authentication is successful, a message saying ‘*Thank you for allowing*’ will appear. The OAuth popup will close, returning you to the project setup station.
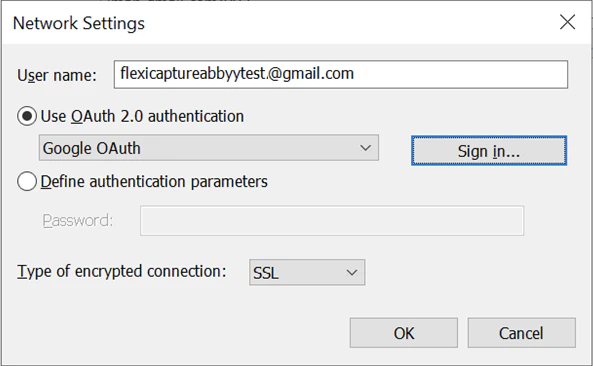 10. Finalize IMAP Profile settings.
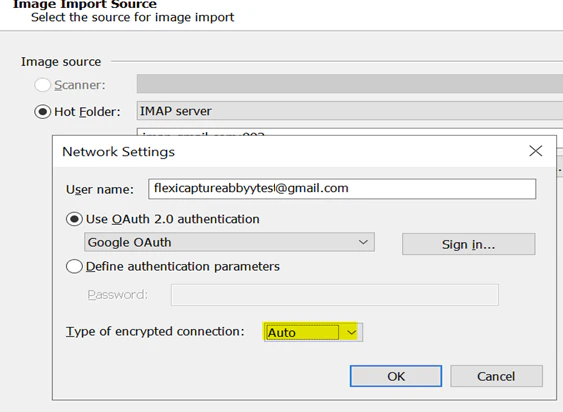
11. Set *Type of encrypted connection* to *Auto* and click **OK**.
10. Finalize IMAP Profile settings.
11. Set *Type of encrypted connection* to *Auto* and click **OK**.
 12. Click **Browse** to access the Gmail folder hierarchy.
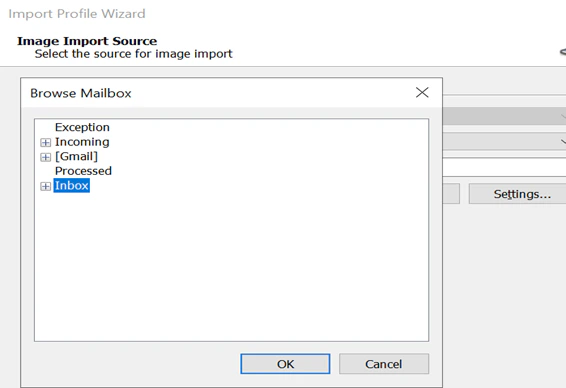 13. Select the folder where documents will be dropped for processing.
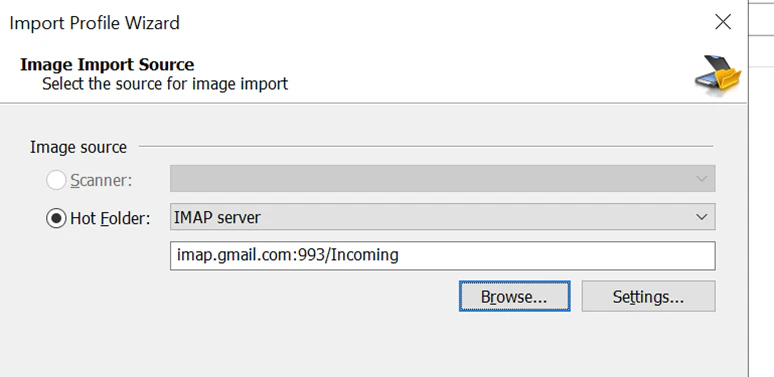 14. Complete the remaining IMAP profile steps.
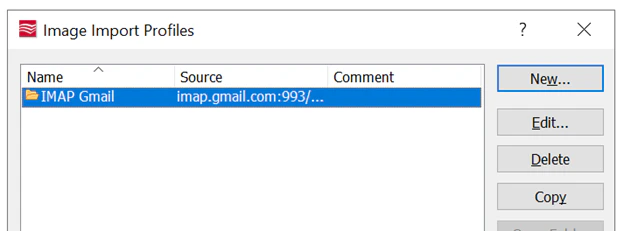 15. Enable **Hotfolder** toggle for the project from the *Admin & Monitoring Console*.
16. To test Import, send an email with an attachment to the selected Gmail folder.
17. Confirm that the document is processed and a batch is created successfully.
15. Enable **Hotfolder** toggle for the project from the *Admin & Monitoring Console*.
16. To test Import, send an email with an attachment to the selected Gmail folder.
17. Confirm that the document is processed and a batch is created successfully.
