> ## Documentation Index
> Fetch the complete documentation index at: https://docs.abbyy.com/llms.txt
> Use this file to discover all available pages before exploring further.
# 新しいアクティビティを作成してワークフローに追加する
> Pega の Case ワークフローに Capture Data の Utility ステップを追加し、ページ、クラス、parameters、ローカル変数を含む CaptureData アクティビティを作成します。
次に、新しいアクティビティを作成してワークフローに追加します。
1. **Dev Studio** で、先ほど作成したケースタイプを開きます。
2. **Workflow** タブで、**Add life cycle** をクリックします。
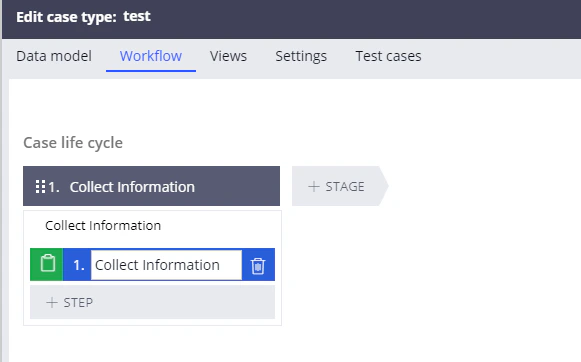
3. *Collect Information* ステップを含む最初のステージを作成します。このステップを追加すると、ファイルを追加できるダイアログが開きます。
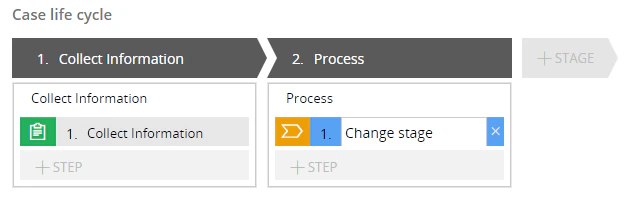
 4. *Process* ステージを作成し、このステージに任意のステップ (例: *Change stage*) を追加して、**Save** をクリックします。
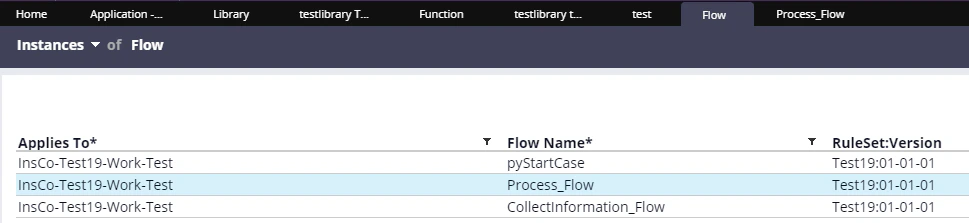
 5. 次に、**Records → Process → Flow** をクリックして flow の一覧を開き、先ほど作成したケースタイプの *Process\_Flow* flow をダブルクリックします。
 6. *Change stage* ステップを *Utility* ステップに置き換えます。
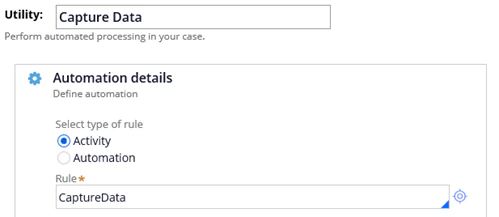
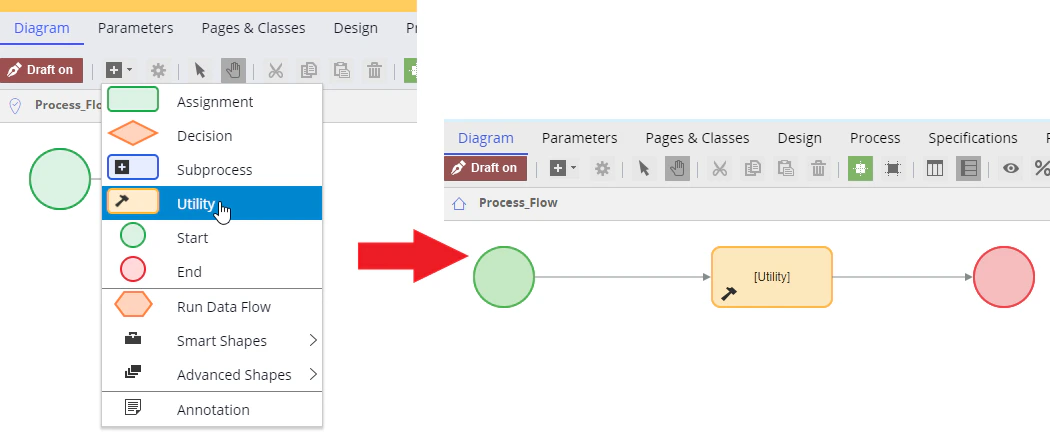 7. **Utility** アイテムをダブルクリックしてプロパティを開きます。アイテムの名前を *Capture Data* に変更します。**Rule** フィールドに *CaptureData* と入力してこの名前の新しいアクティビティを作成し、このフィールドの横にあるアイコンをクリックします。
 8. 開いたウィンドウで、**Create and open** をクリックします。
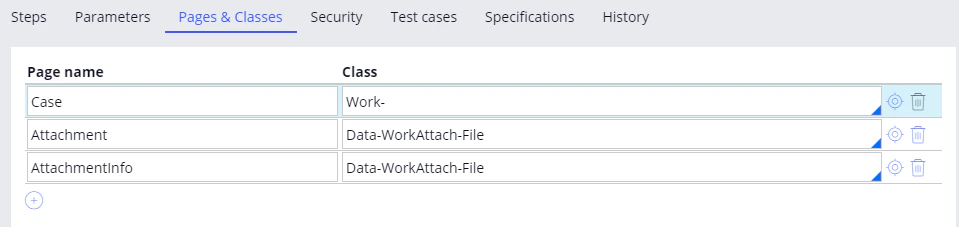
9. **Pages & Classes** タブで、次の 3 つの object を作成します。
| **Page name** | **Class** |
| -------------- | -------------------- |
| Case | Work- |
| Attachment | Data-WorkAttach-File |
| AttachmentInfo | Data-WorkAttach-File |
8. 開いたウィンドウで、**Create and open** をクリックします。
9. **Pages & Classes** タブで、次の 3 つの object を作成します。
| **Page name** | **Class** |
| -------------- | -------------------- |
| Case | Work- |
| Attachment | Data-WorkAttach-File |
| AttachmentInfo | Data-WorkAttach-File |
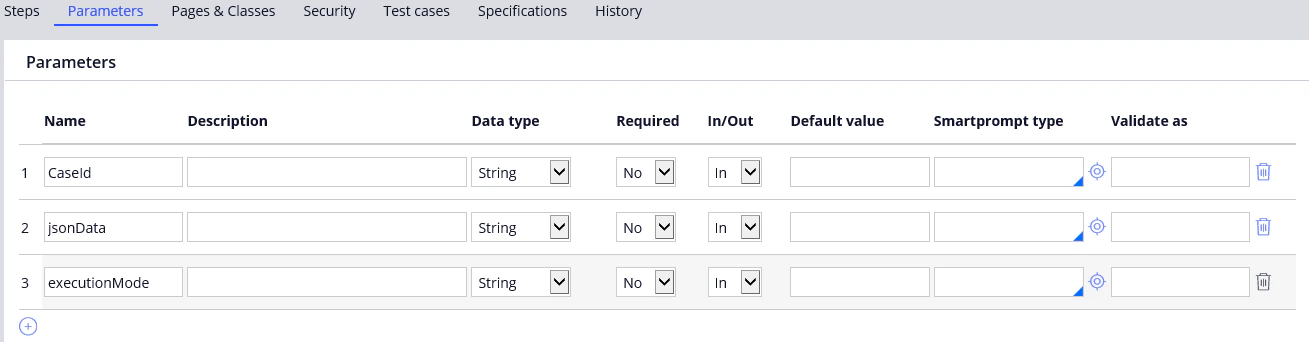
 10. **Parameters** タブで、次の 3 つの parameter を作成します。
| **Name** | **Data type** |
| ------------- | ------------- |
| CaseId | String |
| jsonData | String |
| executionMode | String |
10. **Parameters** タブで、次の 3 つの parameter を作成します。
| **Name** | **Data type** |
| ------------- | ------------- |
| CaseId | String |
| jsonData | String |
| executionMode | String |
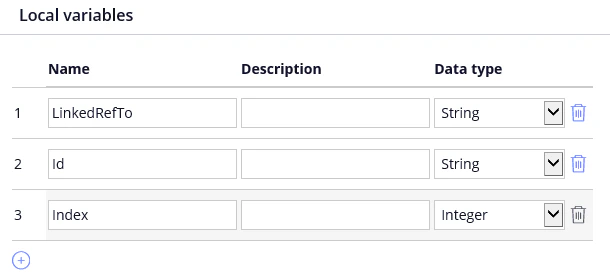
 11. 次の 3 つのローカル変数を作成します。
| **Name** | **Data type** |
| ----------- | ------------- |
| LinkedRefTo | String |
| Id | String |
| Index | Integer |
11. 次の 3 つのローカル変数を作成します。
| **Name** | **Data type** |
| ----------- | ------------- |
| LinkedRefTo | String |
| Id | String |
| Index | Integer |