先决条件
- 在配置身份之前,请确保你拥有一个 Vantage 租户标识符。要获取租户标识符,请在 ABBYY Vantage 中单击 Configuration,该标识符位于 General 选项卡。
- 创建一个 Redirect URI 以接收身份验证响应。URI 为:
https://<your-vantage-url>/auth2/Saml2/Acs
设置
添加声明说明
- 打开管理控制台。
- 选择 Service > Claim Descriptions。单击 Add Claim Description。
- 填写必填字段:
- 指定显示名称,例如 Persistent Identifier。
- 指定声明类型:
urn:oasis:names:tc:SAML:2.0:nameid-format:persistent。 - 选择 Publish this claim description in federation metadata as a claim type that this federation service can accept。
- 选择 Publish this claim description in federation metadata as a claim type that this federation service can send。
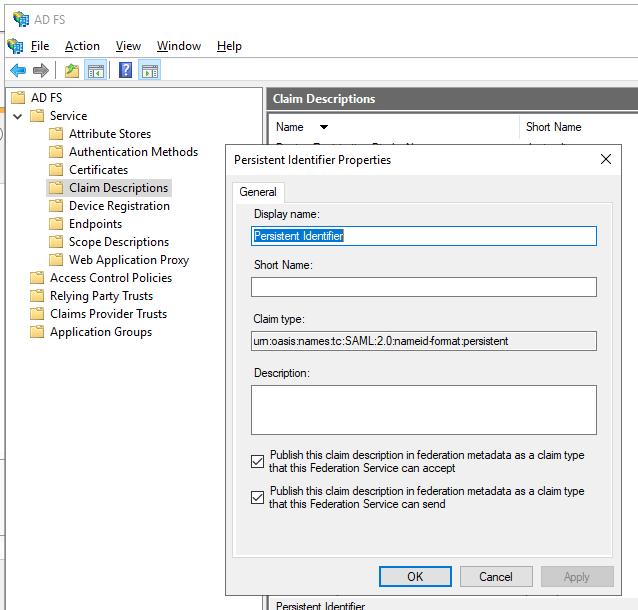
- 单击 OK。
配置依赖方信任
- 在控制台树中的 AD FS 下,选择 Trust Relationships > Relying Party Trusts > Add Relying Party Trust。
- 在 Welcome 页面,选择 Claims aware,然后选择 Start。
- 在 Select Data Source 页面,选择 Enter data about the relying party manually,然后选择 Next。
- 在 Specify Display Name 页面,在 Display Name 中输入任意名称,然后选择 Next。
- 在 Choose Profile 页面,选择 ADFS 2.0 配置文件,然后单击 Next。
- 在 Configure Certificate 页面,单击 Next。
- 在 Configure URL 页面,选择 Enable support for the SAML 2.0 WebSSO protocol。在 Relying party SAML 2.0 SSO service URL 下,输入
https://<your-vantage-url>/auth2/Saml2/Acs,然后单击 Next。 - 要配置标识,请按以下步骤操作:
- 在 Relying party trust identifier 下,输入
api://platform.abbyy.cloud/tenantId,其中 tenantId 为不带连字符的 GUID 格式租户标识符(例如 117489fc1aea41658369d4d18d6557ga),然后单击 Add。 - 在打开的窗口中,选择 Expose an API 选项卡,将 Application ID URI 替换为
api://platform.abbyy.cloud/tenantId(其中 tenantId 为不带连字符的 GUID 格式租户标识符,例如 117489fc1aea41658369d4d18d6557ga),单击 Add,然后单击 Next。
- 在 Relying party trust identifier 下,输入
- 如果希望向所有用户授予对 Vantage 的访问权限,请在 Choose Issuance Authorization Rules 窗口中选择 Permit all users to access this relying party。或者,若仅向特定组授予访问权限,请选择 Permit specific group 并指定所需的组。单击 Next。
- 在 Ready to Add Trust 页面,检查设置。单击 Next,然后单击 Close。
添加规则以转换传入的声明
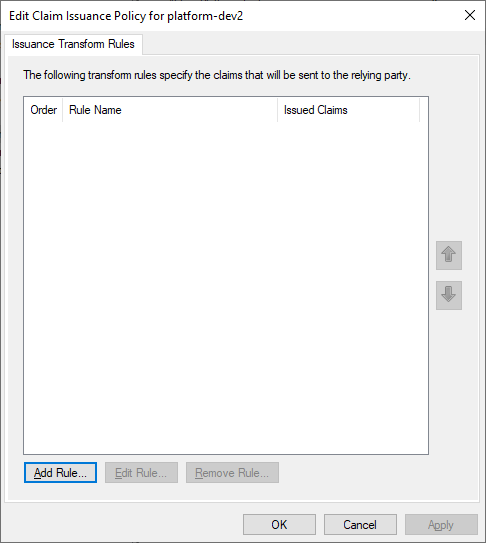
- 点击 Relying Party Trusts。
- 右键点击所选信任,然后点击 Edit Claim Issuance Policy。
- 在打开的
Edit Claim Issuance Policy for <name>窗口中,点击 Add Rule。
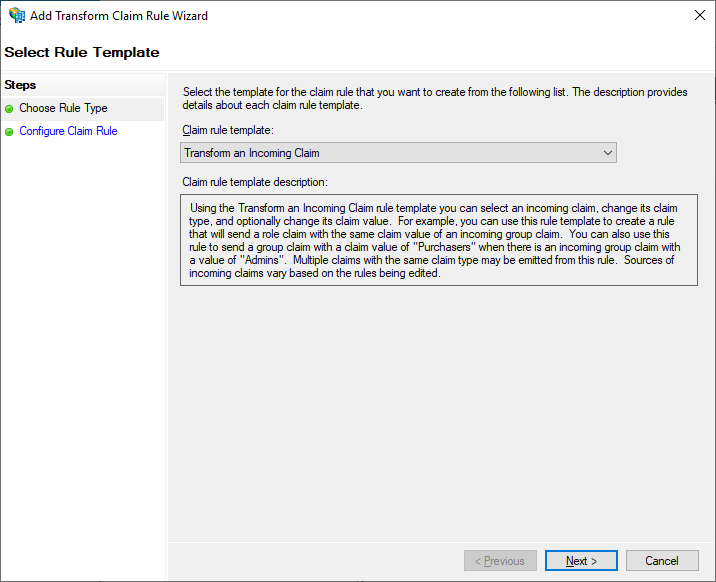
- 选择 Transform an Incoming Claim 声明规则模板,然后点击 Next。
- 在 Configure Claim Rule 步骤中,按以下方式设置:
- 在 Claim rule name 中,输入 Transform Windows account name。
- 在 Incoming claim type 中,选择 Windows account name。
- 在 Outgoing claim type 中,选择 Name ID。
- 在 Outgoing name ID format 中,选择 Persistent Identifier。
- 勾选 Pass through all claim values。
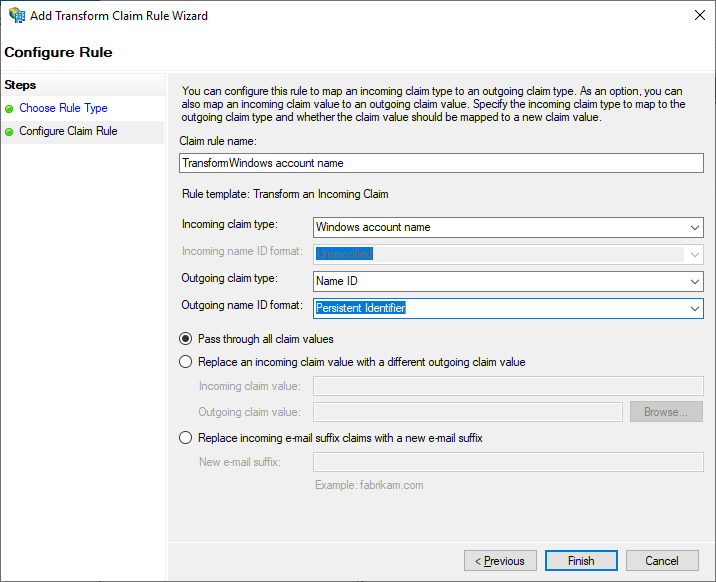
- 点击 Finish。
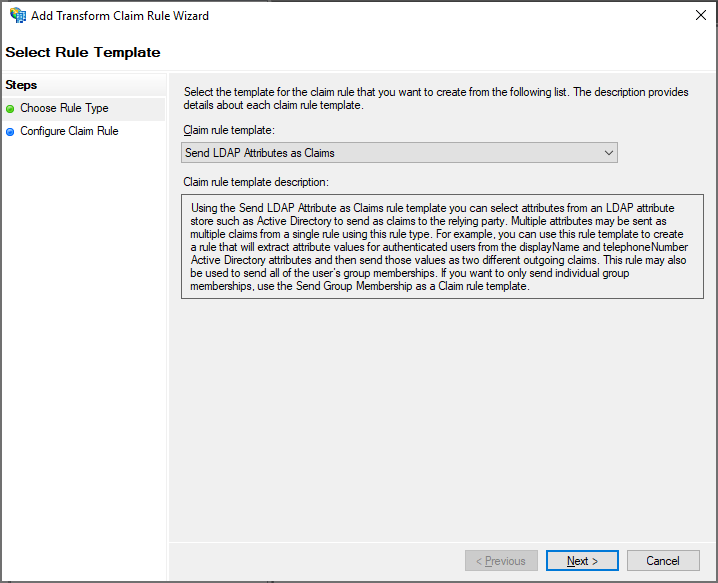
- 再添加一条规则,确保签发的令牌中包含电子邮件和名称声明。在 Select Rule Template 页面,Claim rule template 下选择 Send LDAP Attributes as Claims,然后点击 Next。
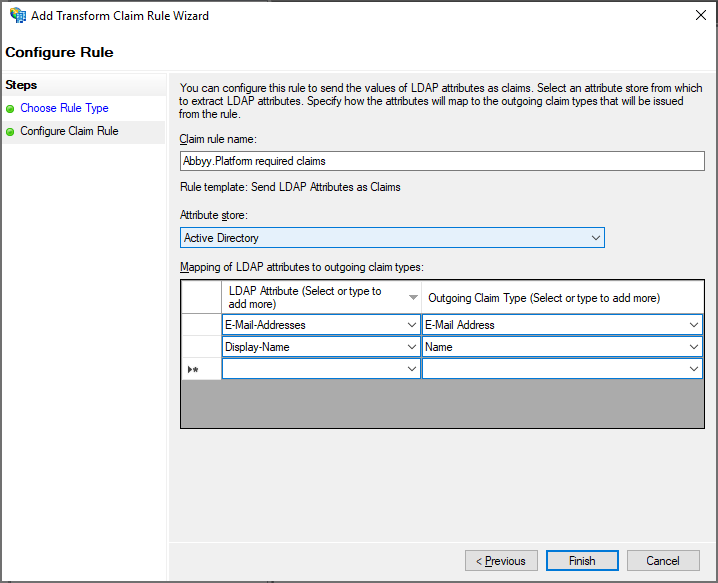
- 在 Configure Claim Rule 页面,Claim rule name 下选择 Active Directory 属性存储,然后点击 Finish。
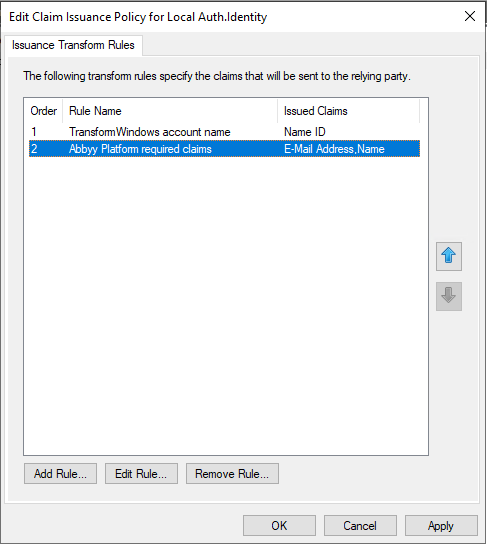
- 新增的规则会显示在 Edit Claim Rules 对话框中。
后续步骤
https://<adfs_server_address>/federationmetadata/2007-06/federationmetadata.xml。例如:https://adfs.platform.local/federationmetadata/2007-06/federationmetadata.xml。
了解更多信息,请参阅为租户设置外部身份提供程序。