
- Partial loss of data
- Inability to resume processing from where it stopped
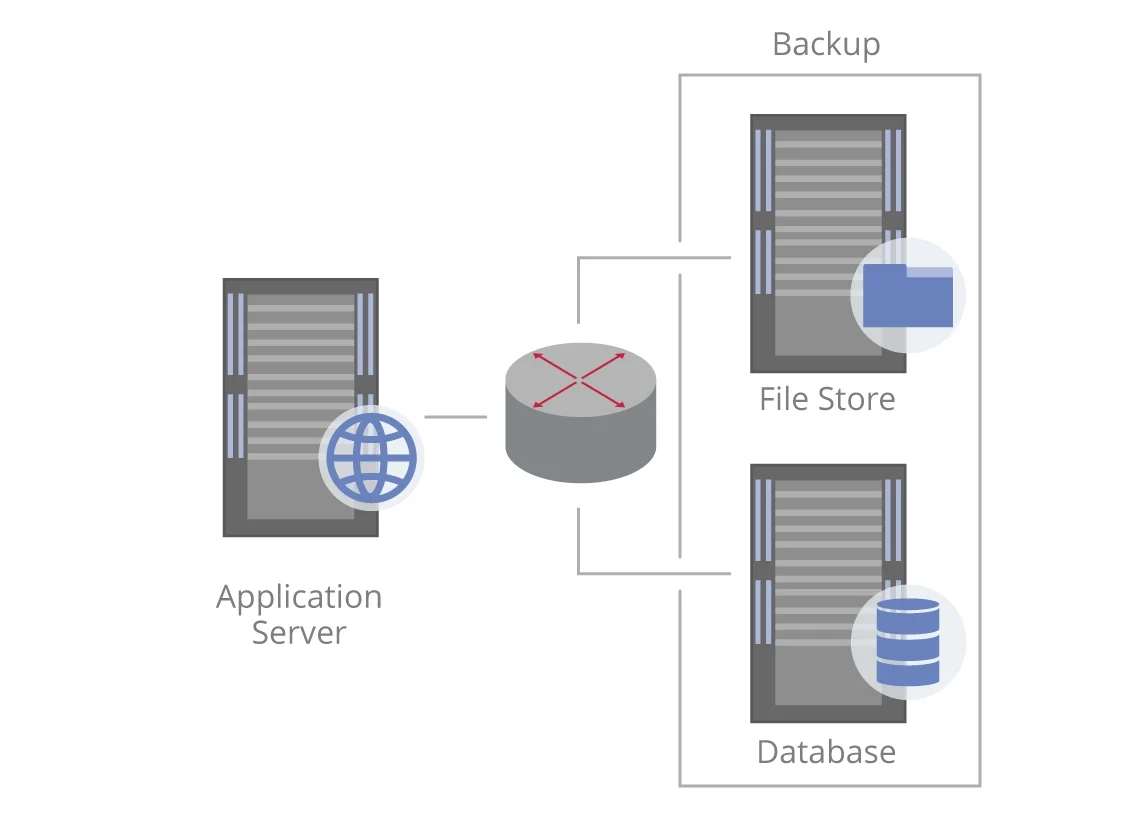
Back up your system
Backing up takes four steps, two of which change an Application Server key.1
Stop the Application Server deleting old files
Set the
FileRemovingDisabled key to true, and then wait at least five minutes for the change to take effect.2
Back up the database
Use the backup tools supplied by your database manufacturer.
3
Back up the file storage
Use a backup utility such as nnBackup.
4
Let the Application Server delete old files again
Set the
FileRemovingDisabled key back to false. The system then deletes old files whenever batches are deleted.Automate the backup with a Windows PowerShell script
Restore your system
Restoring rebuilds the installation, and then reconnects it to the restored database and file storage.Migrating a system requires administrative privileges, and the person who created the database should carry it out. If someone else does, confirm first that they can reach the new server and its database.
1
Install the system on the prepared computers
Install the external components first, and then the servers and the stations.
2
Connect your license key or activate your software license
For more information, see Activate a license.
3
Restore the database on the server
Use the restore tools supplied by your database manufacturer.
4
Restore the file storage
Use the same backup utility you used to create the copy.
5
Connect the Application Server to the restored database
Open the Administration and Monitoring Console and connect to the existing database. Provide the path to the restored database and the path to the restored file storage.