
Logins and authentication types
Standard IIS authentication requires ABBYY FlexiCapture to store the user’s Windows login. FlexiCapture authentication (included in the server components setup) additionally requires the program to store the user’s password, as a hash in the ABBYY FlexiCapture database. An account authenticated by FlexiCapture can have any login, including the same login as the user’s Windows account. If the logins match, the user needs a different password for each authentication type:- For standard IIS authentication, use the Windows password.
- For FlexiCapture authentication, use the ABBYY FlexiCapture password.
Enable FlexiCapture authentication for a user
Reset the user’s password so they receive a temporary one.1
Open the Users page
In the Administration and Monitoring Console, click Settings → Users.
2
Open the user's page
In the Login column, click the user’s login.
3
Reset the password
On the page that opens, click the Reset password button.
Add users manually
1
Add a user
Open the Administration and Monitoring Console, go to the Settings → Users page, and click the New user button.
2
Specify the account details and save
On the page that opens, specify the login, full name, and email address. Grant the required roles and permissions, and then click Save.
User self-registration (using the web interface)
Use this method for operators who reach the system remotely from a browser and sit outside the Application Server’s domain. For such operators to be authenticated by the Application Server, use FlexiCapture authentication. New users self-register by clicking the Registration link on thehttps://<ApplicationServer>/FlexiCapture12/Login page. Replace <ApplicationServer> with the computer running the Application Server.
IIS has anonymous authentication enabled for the
https://<ApplicationServer>/FlexiCapture12/Login web application, so any user can reach the registration page.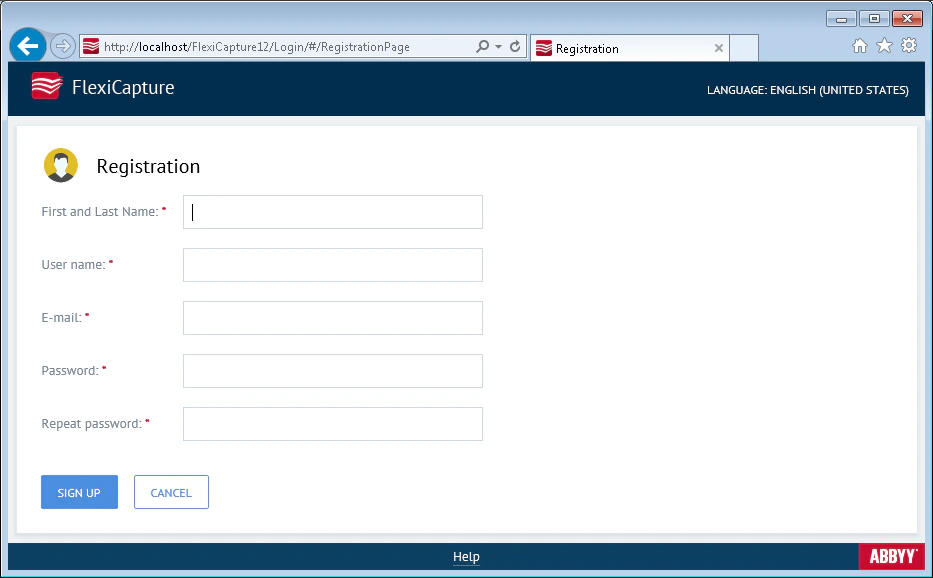
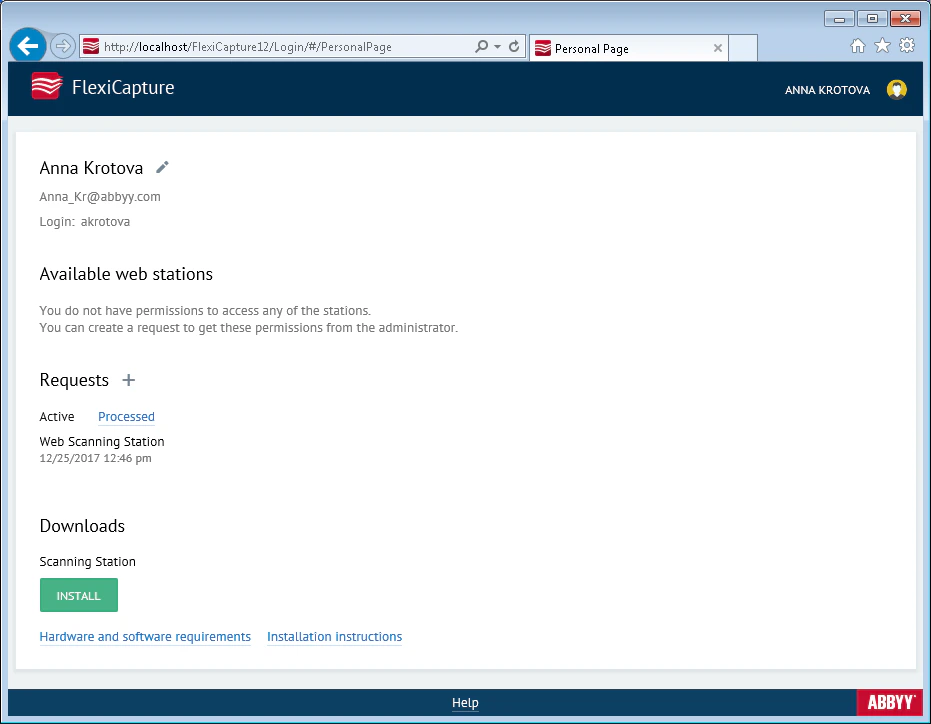
Process a request for roles and access permissions
The administrator handles these requests on the Settings → Requests page of the Administration and Monitoring Console.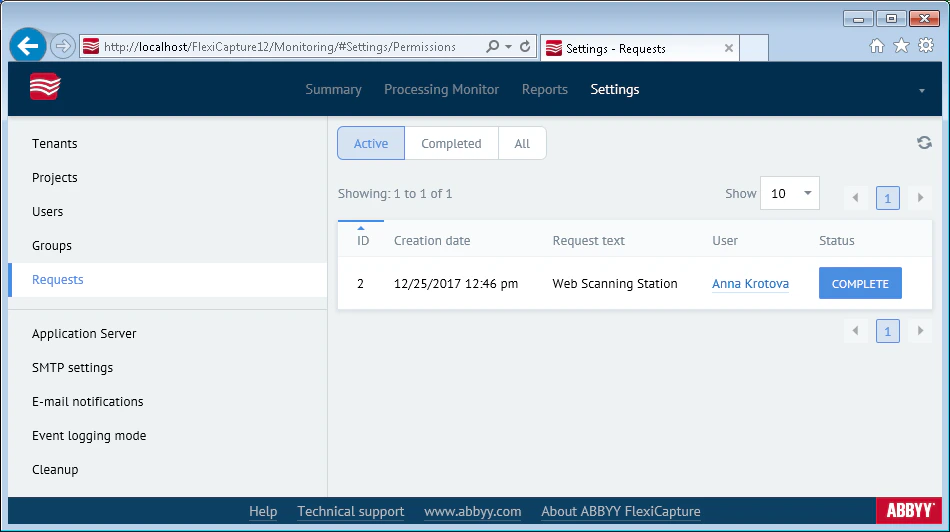
1
Open the user's page
Click Settings → Users and then click the user’s login in the Login column.
2
Assign roles and permissions
On the page that opens, select the necessary roles and access permissions.
3
Complete the request
Click Settings → Requests and then click the Complete button.
User self-registration (without using the web interface)
This method of adding new users is suitable when only standard IIS authentication is used. It eliminates the need for the administrator to enter user logins manually. Instead, the administrator only assigns roles and grants access rights to logins that already exist.1
The user attempts to open a project
The user logs in to a station with their Windows login and tries to open a project. The message
Access denied. Contact your administrator. appears.2
The login appears in the console
The login appears on the Settings → Users page of the Administration and Monitoring Console. The administrator does not have to type it.
3
The administrator grants access
The administrator grants the requested roles and access rights to the user.