
Filter batches
You can filter batches from projects that are stored on the processing server. Select a filter from the Show drop-down list and specify its settings.
When a filter is in use, a brief summary of its settings appears to the right of the Show drop-down list. To change the settings of the current filter, click the
 button.
Batch window
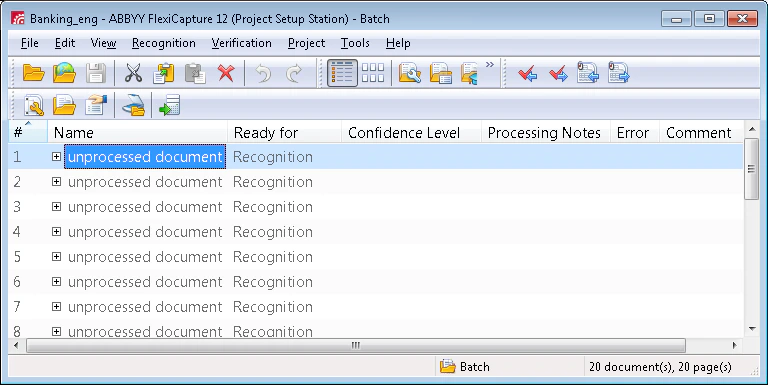
The top of the window contains the menu bar and the toolbar. The bottom contains the status bar, which displays messages about the program’s status and the operations it is performing, along with brief descriptions of selected menu items and buttons. The rest of the window is taken up by the Batch pane, which contains a list of batches.
Copy and move documents
You can copy or move documents from one batch to another, for example from a regular batch to a test batch for training. All information about a copied or moved document, including the applied Document Definition and any recognized data, is retained.1
Select the documents
In the list of documents, select the documents you want to copy or move.
2
Copy or cut the documents
Press Ctrl+C to copy or Ctrl+X to cut. You can also use the  and
and  toolbar buttons, or the Copy and Cut commands on the Edit menu.
and toolbar buttons, or the Copy and Cut commands on the Edit menu.3
Open the target batch
Open the batch you want to copy or move the documents to.
4
Paste the documents
Press Ctrl+V, click the  button, or click Edit → Paste.
button, or click Edit → Paste.Document window
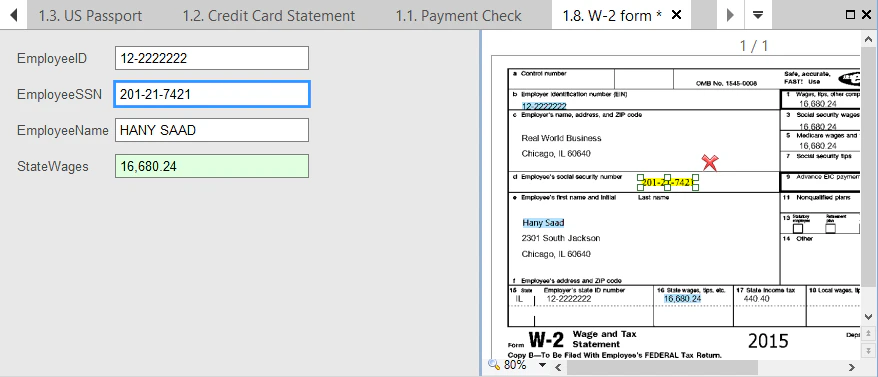
To begin verifying data, open the Document window by double-clicking the name of a document or one of its pages. This window is divided into three panes:- A pane with an image of the document
- A pane with the data form
- A pane with rule errors (displayed only when there are rule errors)
When you place the mouse pointer over a field that contains a date or a number, a tooltip displays the value. The format of the data in the tooltip depends on the regional settings on your computer.
View and edit document sets in the Document window
You can open any number of documents from a document set. A new tab is created for each document. Each tab’s caption contains the number of the document in the batch and the name of each applied Document Definition. An asterisk next to a name indicates that there are unsaved changes. Switch between tabs by clicking them, by clicking the and
and  buttons to the right of the tabs, or by clicking the
  button and selecting the document from the list.
- Clicking the
 button on the toolbar saves changes in all open documents.
 - If you open several documents from a set and then open a document from a different set, all documents from the old set are closed.
- When you open a document from a set, its parent documents also open.