
C:\Program Files\ABBYY Vantage Connector for Alteryx\SampleWorkflow\Vantage.yxzp.
Package contents
TheVantage.yxzp package contains:
- Two sample input images (
BankStatement.tifandPersonalBill.tif) - The
Vantage.yxmdmain workflow file - The
GetTransactionStatusMacro.yxmcmacro file embedded in the main workflow - An Output folder to save processing results
Run the sample process
1
Import the package
Run 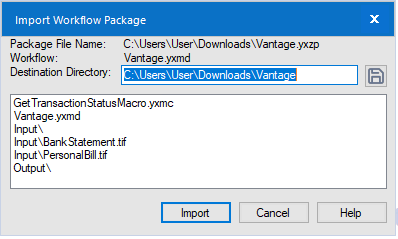
Vantage.yxzp and import its contents to any accessible folder.2
Open the main workflow
Open the 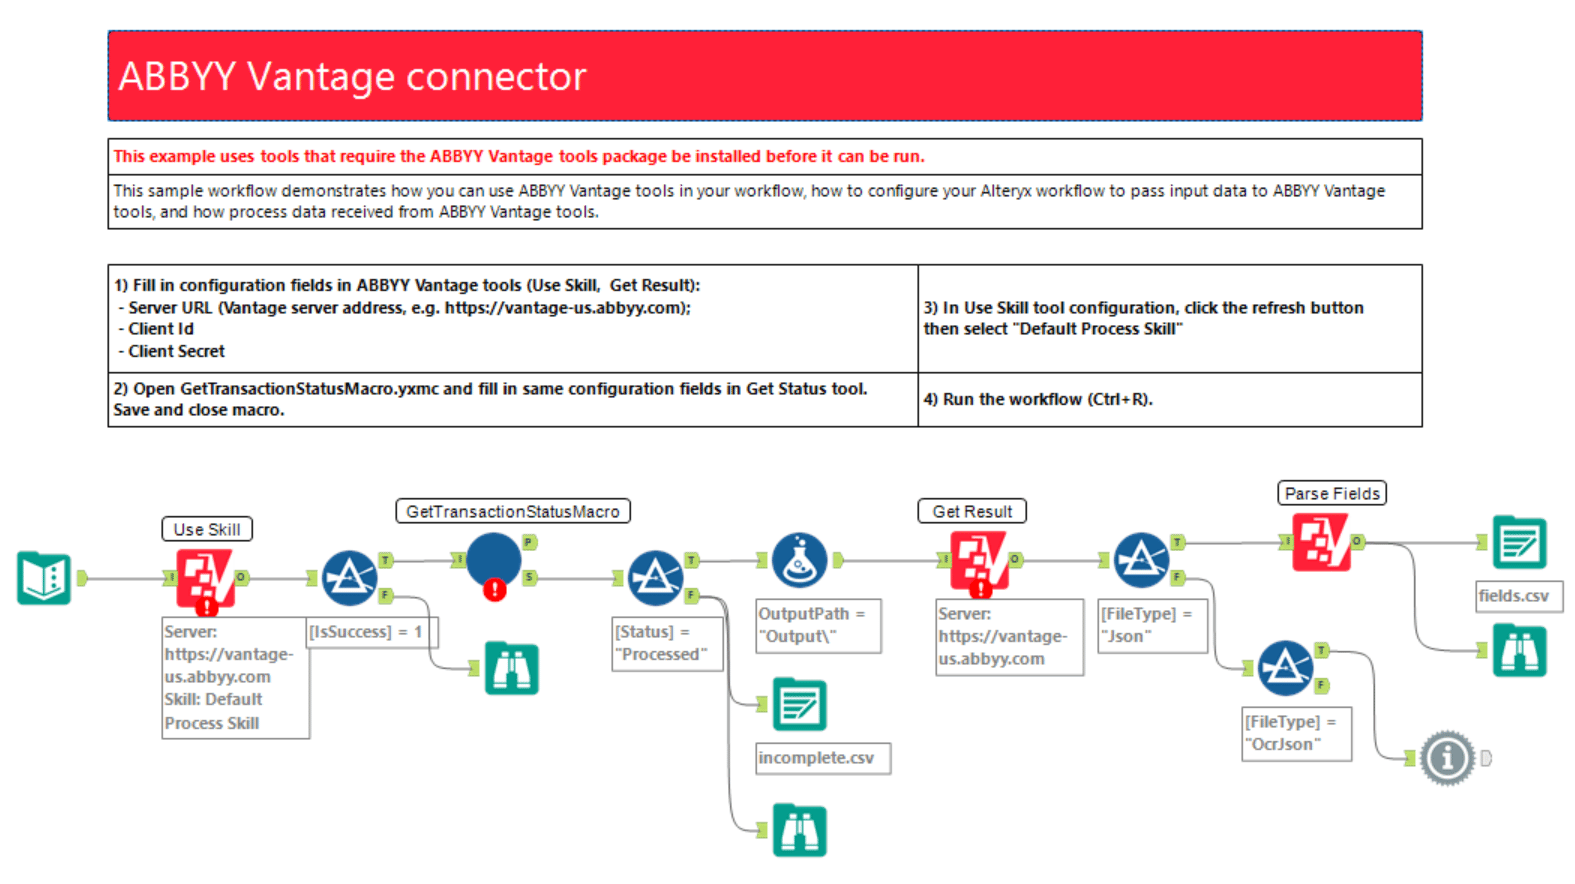
Vantage.yxmd workflow file in Alteryx Designer.3
Configure the Use Skill tool
Select the Use Skill tool and specify your Vantage connection settings in the configuration panel:
- Vantage server URL
- User name (login for your Vantage account)
- Password
- In the Skill Name drop-down list, select Default Process Skill
4
Configure the Get Result tool
Select the Get Result tool and specify the same connection settings in its configuration panel.
5
Configure the Get Status tool in the macro
Open the
GetTransactionStatusMacro.yxmc macro file. Select the Get Status tool and specify the same Vantage connection settings in the configuration panel.6
Save and close the macro
Save and close the
GetTransactionStatusMacro.yxmc file.7
Switch back to the main workflow
Switch to the
Vantage.yxmd file.8
Run the workflow
Run the workflow.
Inspect the results
Once the workflow has run successfully, open the Output folder in the same directory as the workflow file. The Get Result tool creates the following:- A subfolder for each transaction, named after the transaction identifier
- Two subsequent subfolders in the transaction folder for each document (named after document identifiers)
- Result files (
.json) saved to the corresponding document subfolder
fields.csv in the root of the Output folder.