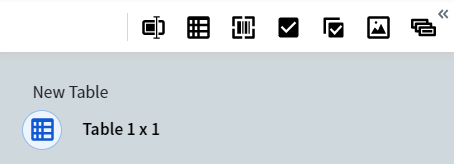
Skip to main contentTo add a table to your document, click on the Add Table toolbar icon. A table of size 1 by 1 will appear on the data form.
 You can manage this table in the data form directly under the document image. To open the table, do one of the following:
- Click the icon located under the table name in the data form, regardless of whether a different table is already open.
- Click the document region related to this table.
You can tell which table is currently open in the data form directly under the document image by the icon located under the name of the table in the data form. The icon under the name of the table that is open is displayed in blue and is placed inside a cyan circle as demonstrated above.
You can close a table by doing one of the following:
- Clicking the icon under the name of a table that is currently open in the data form.
- Clicking a different field in the data form.
- Selecting Close table in the drop-down menu of a column or row.
- Selecting Close table in the table menu (the icon in the upper left corner of the table).
Populating a table
Navigate to the appropriate table cell by selecting it using the cursor and then specify a region on the document image. This region should contain data that needs be extracted to the selected cell. You can also specify an additional region on the image right after you have specified the first one. This will create a new column at the end of the table, with data from the region being extracted to the first cell in that column. You can also add columns and rows manually using the Create column and Create row buttons.
Tip: Adding a row or column manually does not affect the location of the cursor. To navigate to a new cell, you need to select it manually.
Populating the table rows can be partially automated. To do so, mark out the top or several topmost rows in the table and click the icon located next to the last cell. Alternatively, select Continue table from this row in the drop-down menu. Other rows will then be filled in automatically.
Tip: Data extraction from long tables is limited to 10 pages at a time. If needed, repeat the command for the lower rows.
You can use the drop-down menu to delete any column, row, or several rows at once, as well as create a new column or row in a specific location in the table.
To navigate from one table cell to another, use the Tab key, the Shift+Tab key combination, or the arrow keys.
Setting up the table properties
All table cells have general and additional properties identical to those of regular text fields. All cells in a single column will always have the same properties, since they are all instances of the same repeating field. To set up the properties for a column, select Column settings in the drop-down menu or navigate to a cell in that column using the cursor and press Alt+Enter.
The default width of a column is 2 characters. If needed, you can change the column width by dragging the separator between the column headings. User-specified width will be preserved in manual review.
Table columns can be renamed by double-clicking their name or by selecting Rename column in the drop-down menu. You can edit the name of a table by left-clicking it three times.
See also

