Send a batch to FlexiCapture
1
Open the FlexiCapture tab
Do one of the following: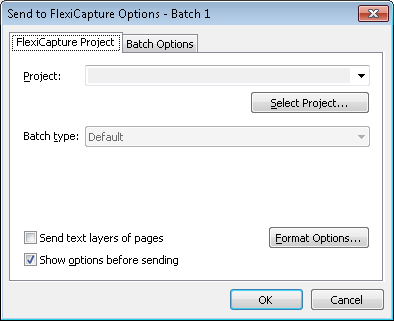
- Select File → Sending Options… and click the FlexiCapture tab.
- Click the arrow next to the Send To button on the Main Window Toolbars and choose a Send to FlexiCapture… export profile.
2
Select a project
Select a project in the Project list. To find a project, click Select Project….For a remote project, click Select Project… to open the Select FlexiCapture Project dialog box: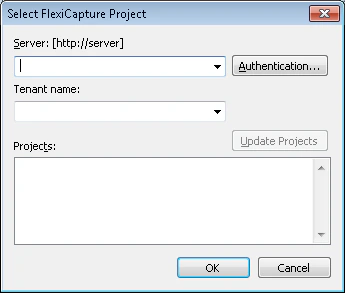
1
Specify the server
In the Server field, specify the server path in the format
https://server.2
Set authentication
In the Authentication… dialog box, specify the connection settings in one of the following ways:
- Use Windows authentication.
- Enter a specific user name and password.
3
Specify the tenant
If needed, specify the Tenant name in the corresponding field.
4
Update and select the project
Click Update Projects. All the available ABBYY FlexiCapture projects appear in the Projects list. Select a project and click OK.
To enable authentication by name and password, you must set up Internet Information Services on the computer where the Application Server is installed — that is, allow basic authentication for the
FlexiCapture\Server folder. Contact your system administrator for more information.3
Specify the project type
Specify the project type.
4
Choose whether to send text layers
By default, the Scanning Station sends only document images. Enable Send text layers of pages to send document images together with text for documents that have a text layer.
5
Set the image format
Click Format Options… to specify image format options.In the Image Format Options dialog box, you can set:
- Format — TIFF, BMP, JPG, JPEG2000, DCX packbits, PCX packbits, PNG, PDF, or PDF/A. For details, see Supported Image Formats.
- Color mode — Color, Grayscale, or Halftone (b&w).
- Quality — Best, High, Normal, Low, or Custom.
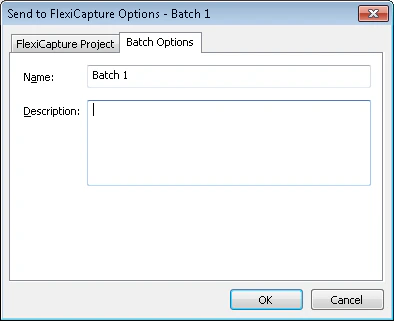
6
Name the batch
Specify a batch name and provide a description on the Batch Options tab.