1. Create a new folder and name it Invoices One-Page.
  2. Start ABBYY FlexiLayout Studio.
  3. Create a new project and name it Sample3. For more information, see Tutorial 1, Step 1.
  4. Add images to the batch. For more information, see Tutorial 1, Step 2.
    Test images of Tutorial 3 are stored in %public%\ABBYY\FlexiCapture\12.0\Samples\FLS\English\Invoice One-Page\Invoice One-PageBatch\<page number>\Images\bwPage.frdat.
  5. Specify the FlexiLayout properties. For more information, see Tutorial 1, Step 3.
    • Under Text type, select Typographic.
    • In Text languages select English. Note that the program allows you to specify more than one language.
    • Name the FlexiLayout Invoice.
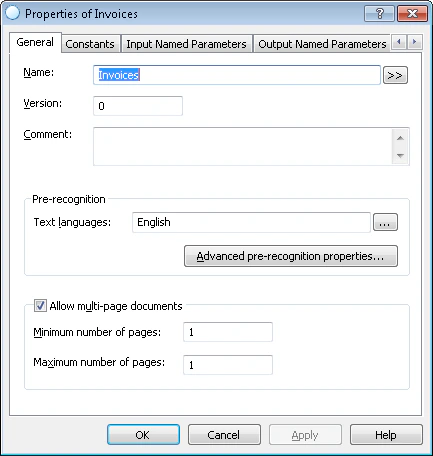
    • Select the Fast pre-recognition mode, and set Minimum number of pages and Maximum number of pages to 1.
Screenshot of the General tab of the Properties of Invoices FlexiLayout dialog box in ABBYY FlexiLayout Studio, showing the FlexiLayout named Invoices with English text language and minimum and maximum number of pages set to 1.
For more information about selecting the right pre-recognition parameters, see Tutorial 1, Step 3.
For one-page documents, you do not need to use predefined compound Header and Footer elements to indicate the beginning and end of the documents. Therefore, you can remove them from the list of FlexiLayout elements.
You can add Header and Footer elements to your FlexiLayout to indicate the beginning and end of the documents. If neither the Header nor the Footer element is found when matching the FlexiLayout, the program will use the maximum number of pages specified in the FlexiLayout as the number of pages in the document. For this particular document, the maximum number of pages is set to 1.