Add the workflow to a repository
1
Set the business process options
In the Business Process Options property, select:
- Make this workflow a business process
- Start this business process
- Display this business process’s information
2
Select the repository
Select the repository where you want to add the workflow.
3
Add an activity
Select an activity in the Toolbox pane and drag it onto the Workflow tab.In the Workflow properties on the right, you can change the Name and Description. In the Connection Profiles property, you can add connections to repositories.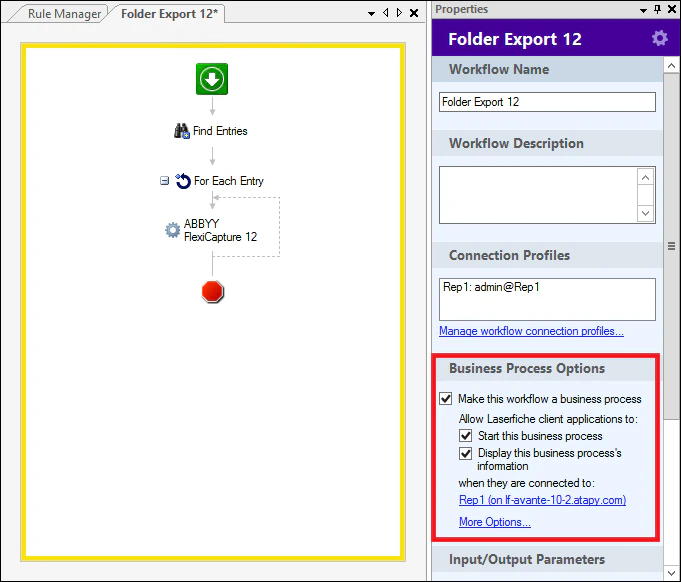
Find Entries
This activity finds entries based on user-defined parameters and passes them to the next activity in the workflow.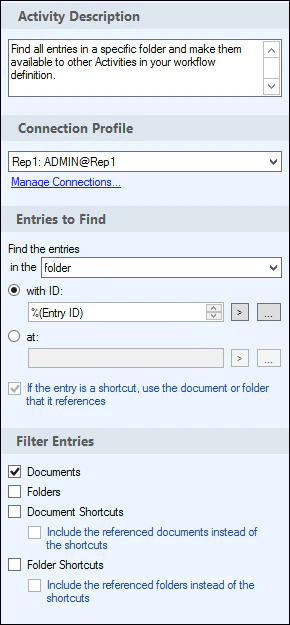
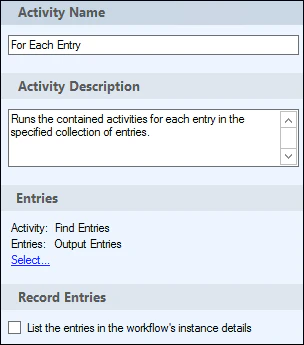
For Each Entry
This activity iterates through the entries it receives. Each entry goes through the activities contained in the body of the iteration cycle.