Process action
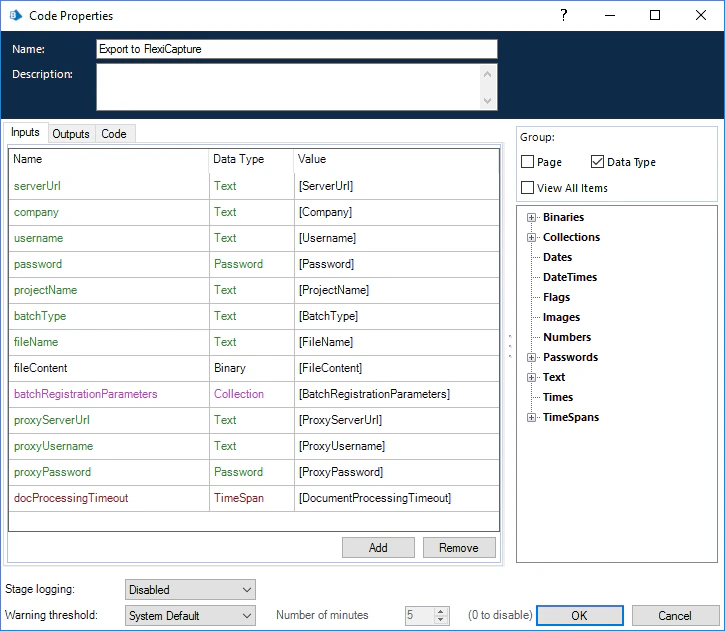
This action is used to process input file in FlexiCapture 12. Resulting export files will be available as file collection containing their binary content. Input parameters for the Process action:- ServerUrl – the address of the ABBYY FlexiCapture server in the following format: http://<ApplicationServer>
- Company – the name of the ABBYY FlexiCapture tenant (if you are working with ABBYY FlexiCapture Cloud, specify the name of your company here). If you are not working with a tenant, leave this field empty
- Username – the name of the ABBYY FlexiCapture user
- Password – the password of the ABBYY FlexiCapture user
- ProjectName – the name of the project on the ABBYY FlexiCapture server
- BatchType – the name of the batch type that will be assigned to the batch created in ABBYY FlexiCapture for processing the file
- FileName – the name of the input file
- FileContent – the file to be sent to ABBYY FlexiCapture (must be stored in a data item of binary data type)
- BatchRegistrationParameters – a collection of objects with “Name” and “Value” text fields (these objects will be transformed into batch registration parameters on the ABBYY FlexiCapture side, which can be used, for example, for naming export files)
- ProxyServerUrl (optional) – proxy server URL (e.g. 127.0.0.1:8080)
- ProxyUsername (optional) – proxy server user name
- ProxyPassword (optional) – proxy user password
- DocumentProcessingTimeout (optional) – maximum wait time for receiving results from FC before the error is thrown
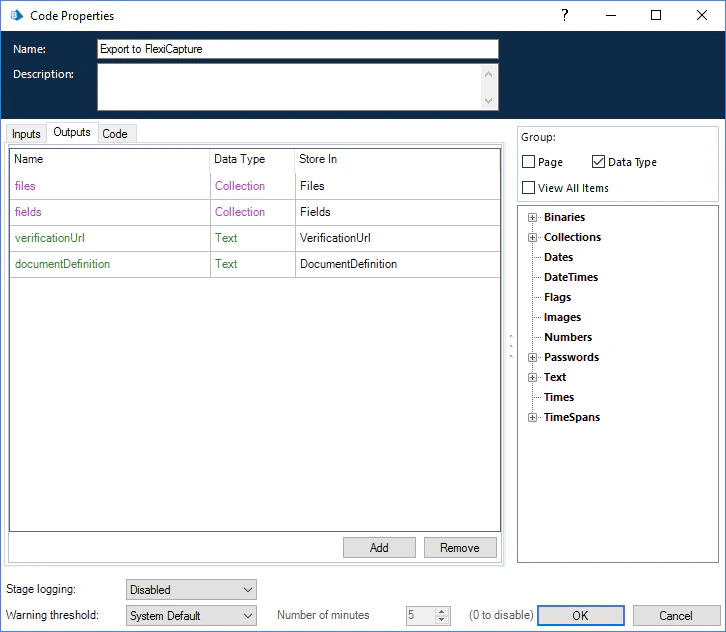
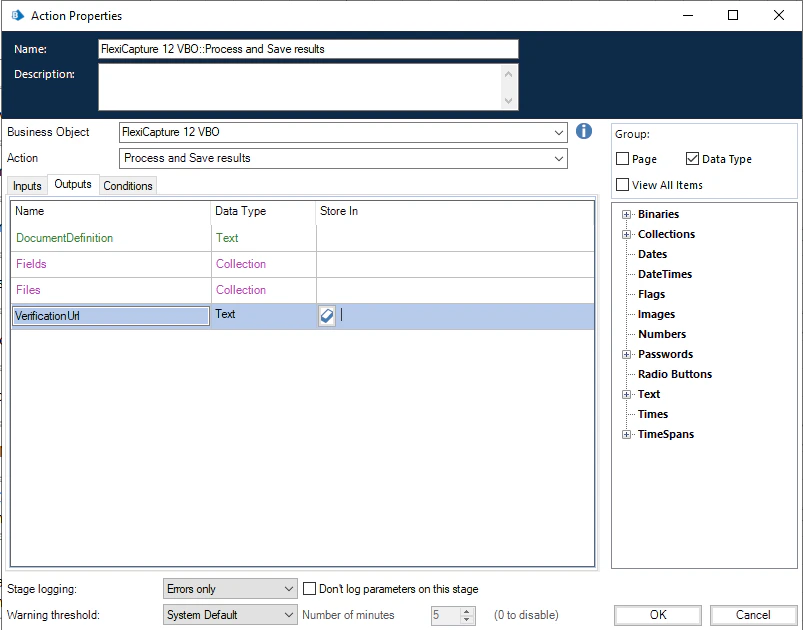
You can have these elements created automatically by clicking the icon to the left of the value in the Store In column.
- DocumentDefinition – the name of the Document Definition that was applied to the input image by ABBYY FlexiCapture
- Fields – a collection of objects with “Name” and “Value” text fields for storing the names and extracted values of fields
- Files – a collection of objects with a “Name” text field and a “Content” binary field for storing exported image files and their names
- VerificationUrl – a text field that stores the URL of the document verification page
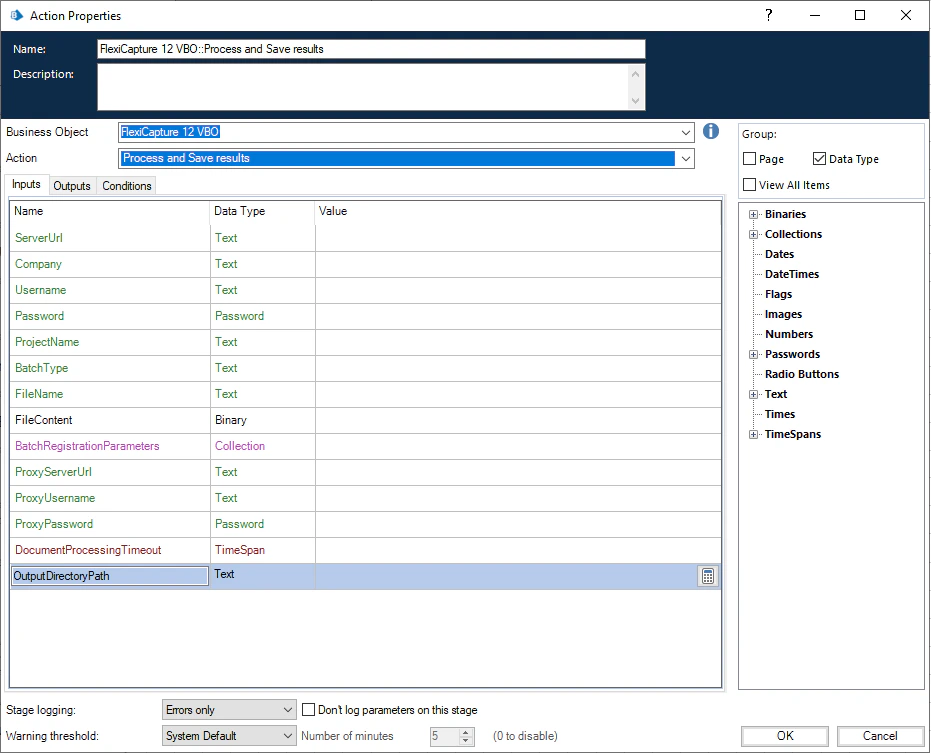
Process and Save action
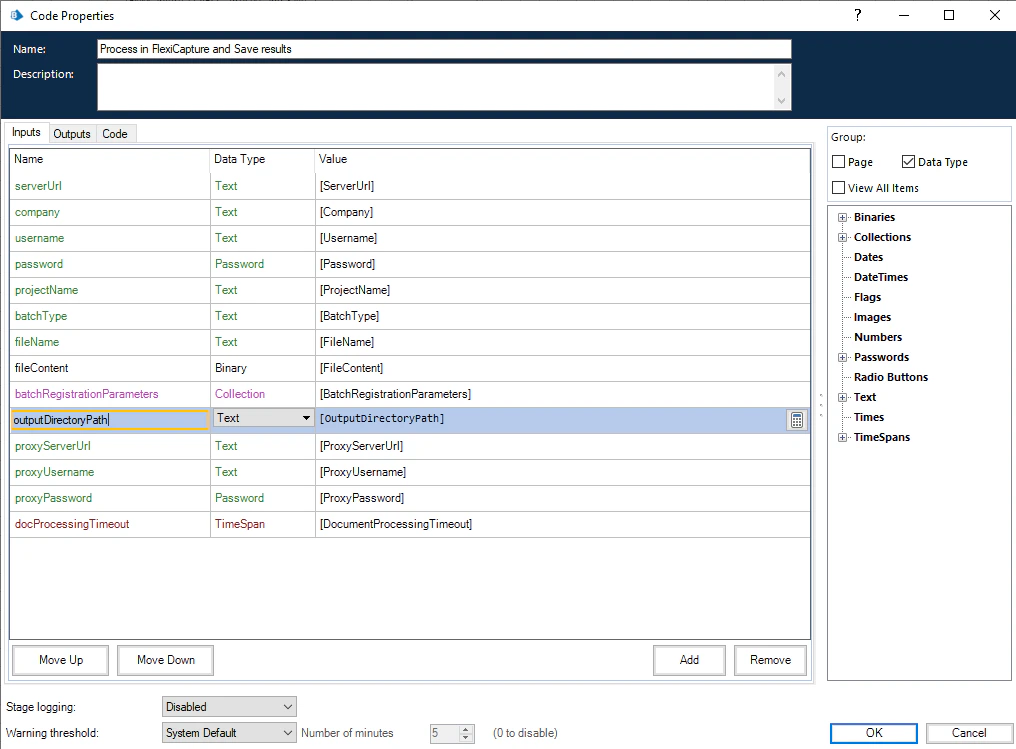
This action is used to process input file in FlexiCapture 12. Resulting export files will be saved to the output directory Input parameters for the Process and Save action:- ServerUrl – the address of the ABBYY FlexiCapture server in the following format: http://<ApplicationServer>
- Company – the name of the ABBYY FlexiCapture tenant (if you are working with ABBYY FlexiCapture Cloud, specify the name of your company here). If you are not working with a tenant, leave this field empty
- Username – the name of the ABBYY FlexiCapture user
- Password – the password of the ABBYY FlexiCapture user
- ProjectName – the name of the project on the ABBYY FlexiCapture server
- BatchType – the name of the batch type that will be assigned to the batch created in ABBYY FlexiCapture for processing the file
- FileName – the name of the input file
- FileContent – the file to be sent to ABBYY FlexiCapture (must be stored in a data item of binary data type)
- OutputDirectoryPath – path to output directory which will be used to create sub-directories for document results.
- BatchRegistrationParameters – a collection of objects with “Name” and “Value” text fields (these objects will be transformed into batch registration parameters on the ABBYY FlexiCapture side, which can be used, for example, for naming export files)
- ProxyServerUrl (optional) – proxy server URL (e.g. 127.0.0.1:8080)
- ProxyUsername (optional) – proxy server user name
- ProxyPassword (optional) – proxy user password
- DocumentProcessingTimeout (optional) – maximum wait time for receiving results from FC before the error is thrown
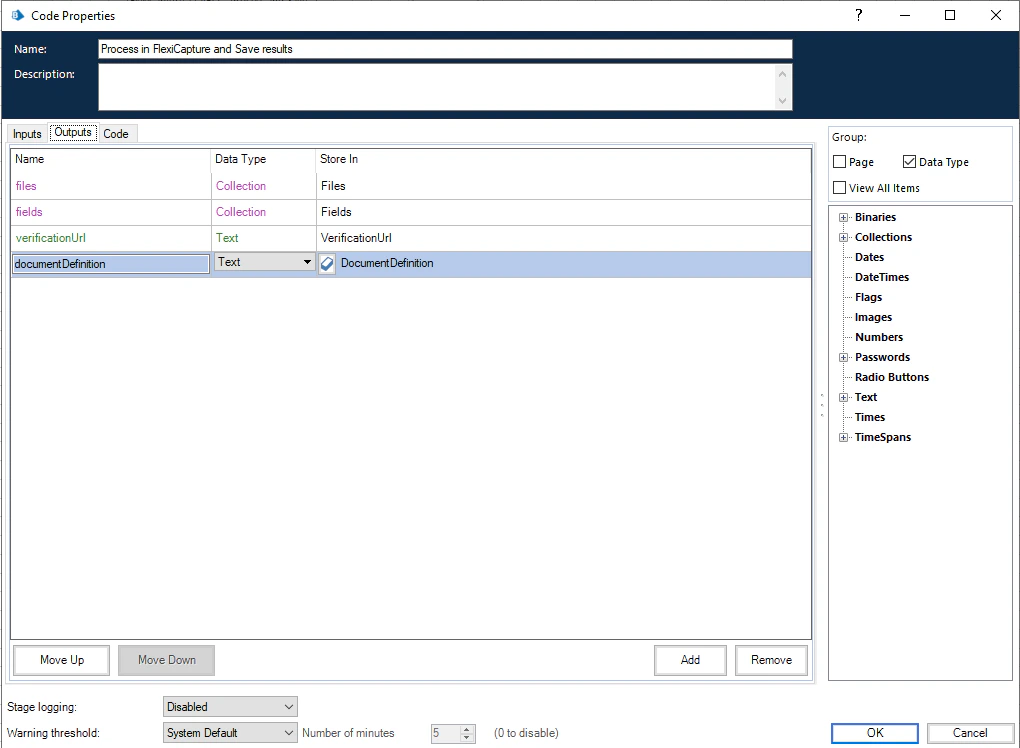
You can have these elements created automatically by clicking the icon to the left of the value in the Store In column.
- DocumentDefinition – the name of the Document Definition that was applied to the input image by ABBYY FlexiCapture
- Fields – a collection of objects with “Name” and “Value” text fields for storing the names and extracted values of fields
- Files – a collection of objects with a “Name” text field and a “Content” binary field for storing exported image files and their names
- VerificationUrl – a text field that stores the URL of the document verification page
Installing the ABBYY FlexiCapture 12 VBO
To make the ABBYY FlexiCapture 12 VBO and its usage example available on the Blue Prism side, you need to import the BPA Object - FlexiCapture 12 VBO.xml and BPA Process - FlexiCapture 12 Processor.xml files into Blue Prism. To do this:- Open Blue Prism and on the File menu, click Import.
- Prompted by the on-screen instructions, select the following files to import, one by one:
- BPA Object - FlexiCapture 12 VBO.xml
- BPA Process - FlexiCapture 12 Processor.xml
- Additional objects required to run the FlexiCapture 12 VBO usage example (their default location is C:\Program Files\Blue Prism Limited\Blue Prism Automate\VBO):
- BPA Object - Utility - File Management.xml
A business object for working with files stored on the local hard drive. - BPA Object - Utility - Environment.xml
A business object for interacting with the environment (e.g. for running third-party processes, such as a web browser).
- BPA Object - Utility - File Management.xml
- Once the import is complete, all the business objects and the usage example will be displayed in Blue Prism on the Studio tab.
- Restart Blue Prism for the changes to take effect.
Configuring the ABBYY FlexiCapture 12 VBO
You can use the ABBYY FlexiCapture 12 VBO to create a new Blue Prism process or integrate it into your existing process.You can also use the sample process named BPA Process - FlexiCapture 12 Processor (C:\Program Files (x86)\ABBYY FlexiCapture Connector for BluePrism\Single-Task Package\Samples\BluePrism Sample Process).
- Create a new Blue Prism process (on the Studio tab, right-click Processes and then click the Create Process command on the shortcut menu) or open an existing process.
- In the workspace, create an element of type Action. Then double-click to open the Action properties.
- In the Action Properties window, specify a name for the new action in the Name field. In the Business Object drop-down list, select FlexiCapture 12 VBO. In the Action list, select Process and Save results.
- On the Inputs tab, specify input parameters (for more information, see the ABBYY FlexiCapture 12 VBO section). You can explicitly specify values for “Text” parameters by enclosing them in double quotes. For other data types, you need to create the corresponding Data Items and specify their names in the Value column. For example:
- On the Outputs tab, specify output parameters. You can have these Data Items created automatically by clicking the icon to the left of the value in the Store In column. For example:
Configuring a proxy server
If you use a proxy server to connect to FC:- If a transparent proxy is used, pass the proxy server address and port in the ProxyServerUrl parameter and leave the ProxyUsername and ProxyPassword parameters empty.
- For the user password, create a Data Item of type Password and specify the required password as its value. Then use this Data Item to pass the password into the ProxyPassword input parameter.
- For the ProxyServerUrl and ProxyUsername parameters, you can specify the required values explicitly by enclosing them in double quotes.
Changing the timeout for processed documents
By default, the VBO will wait for a processed document from FC for 300 seconds. To change this wait time:- Create a variable of type Timespan.
- Specify the wait time as the value of the variable.
- Specify the name of the variable in the DocumentProcessingTimeout input parameter.