-
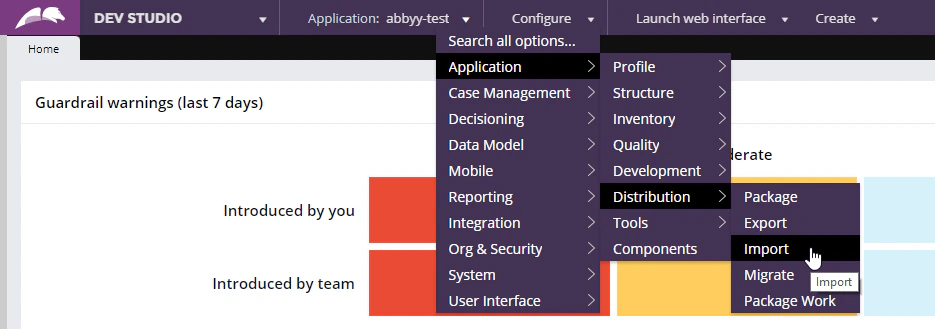
Open Dev Studio and click Configure → Application → Distribution → Import.
- Load the FlexiCaptureConnector.jar file on to the server.
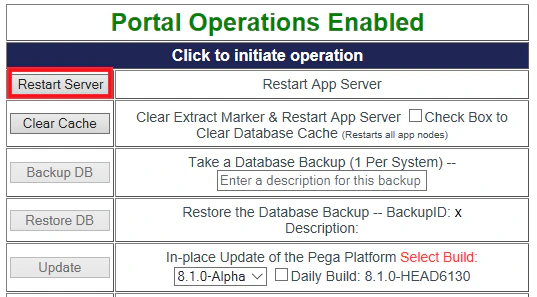
- Open the Pega Self-Service Portal and click Restart Server.
-
Create a new library by clicking Records → Technical → Library → Create and name it, say, FlexiCaptureLibrary. Then include the following packages:
- java.util.*
- java.nio.file.*
- com.abbyy.connectors.*
- com.abbyy.connectors.models.*
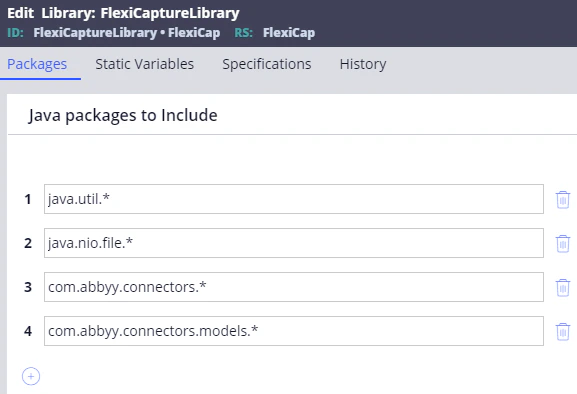
- Click Save followed by Generate Library.
- Create a new function by clicking Records → Technical → Function → Create.
- In the Label field, provide a name for the new function (e.g. CaptureData).
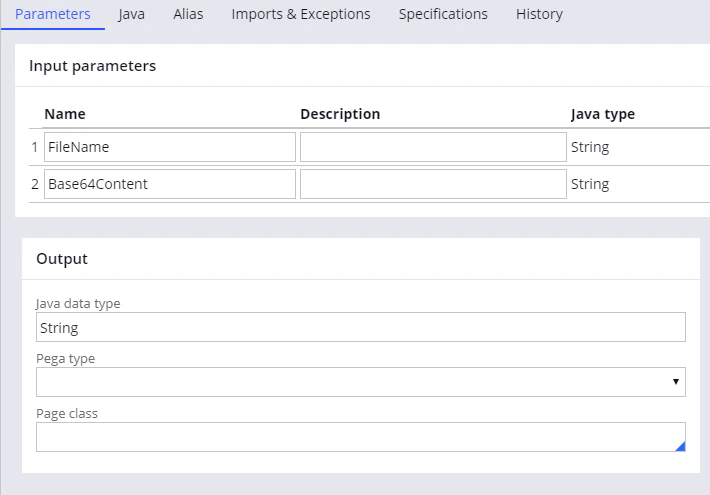
- In the Parameters section, specify the following two input parameters:
- In the Library field, enter the name of the library you created in step 1 and click Create and open.
-
In the window that opens, on the Parameters tab, specify String as the data type in Java data type field:
- Copy the code from the CodeExample.java file, which you can find in %Installation Path%\Connector for FlexiCapture as a Service\Samples\Pega Function (for your convenience, the code is reproduced below). While still in the same window, click the Java tab and paste the code you have just copied. This sample code sends files to FC and gets back the processing results in the form of JSON strings with the names of the captured fields and their values. The code fragments highlighted in yellow should be replaced with valid connection data required to connect to the FC Application Server. Then upload your project to the FC Application Server and configure it.
- Click the Imports & Exceptions tab and type Exception in the Exceptions thrown section.
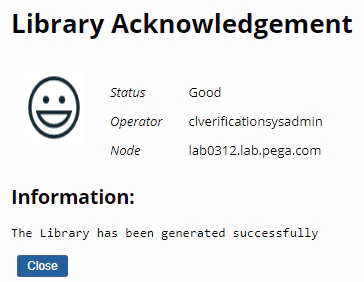
- Go back to the Java tab, select the Function ready to be compiled? option, save your changes, and click Generate function. If the function is generated successfully, you will see this message: