Upload the project to the server
1
Open the project
Open the project in the Project Setup Station.
2
Upload the project to the Application Server
- Click Upload project to Server on the toolbar.
- Specify the Application Server address and the credentials used to connect.
- Click OK and wait until the project is uploaded to the server.
With ABBYY FlexiCapture Cloud you also need the Project Setup Station desktop application to configure the project. For the steps for uploading a project to the ABBYY FlexiCapture Cloud server, see Configure your ABBYY FlexiCapture project for UiPath.
Learn the scenarios from the sample project
The connector distribution package includes a preconfigured sample project namedInvoiceDemoProject_Singletask, in the \Single-task package\Samples\FlexiCapture Projects folder.
On the ABBYY FlexiCapture Project Setup Station, open InvoiceDemoProject_Singletask and click Upload Project to Server.
The project has three batch types, one for each usage scenario. The export settings are specified in the European Invoice Document Definition.
Edit its script export profile to specify your own UiPath Orchestrator connection settings and Orchestrator queue name.
Verify that the Processing Server is running
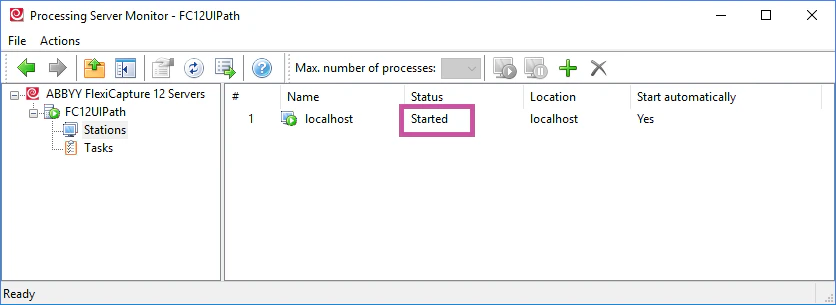
Check that the ABBYY FlexiCapture Processing Server is running and that Processing Stations have been added, set up, and started. Launch the Processing Server Monitor by selecting Start → All Programs → ABBYY FlexiCapture 12 Servers → Processing Server. Both the server and the stations should have the Started status.