- Open Dev Studio and click Case Types → Add a case type.
- Specify a name for your case and click Submit.
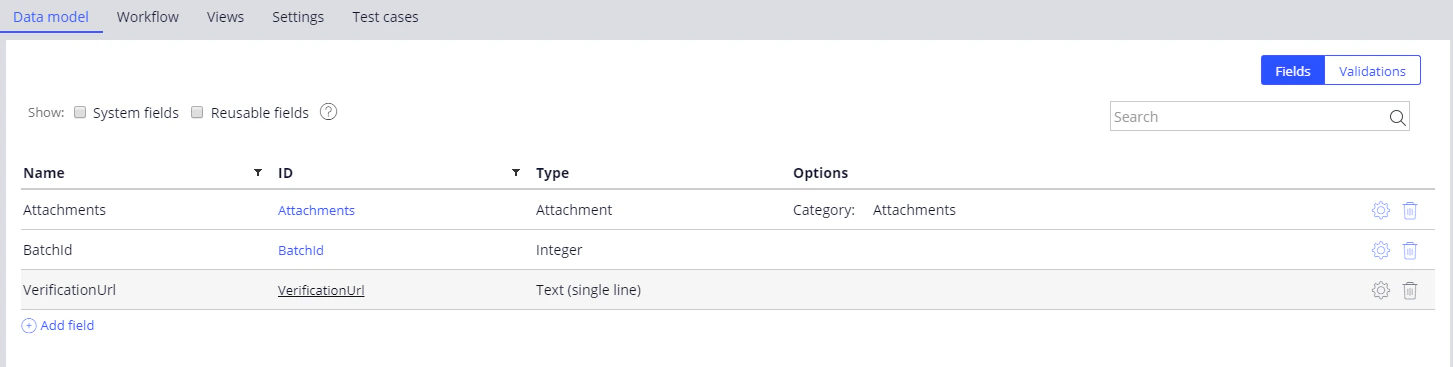
- On the Data model tab, add new case fields by clicking Add field.
- Attachments — Attachment type (files) with the option Category: Attachments;
- BatchId — Integer type (batch identifier)
- VerificationUrl — Text type (verification URL)
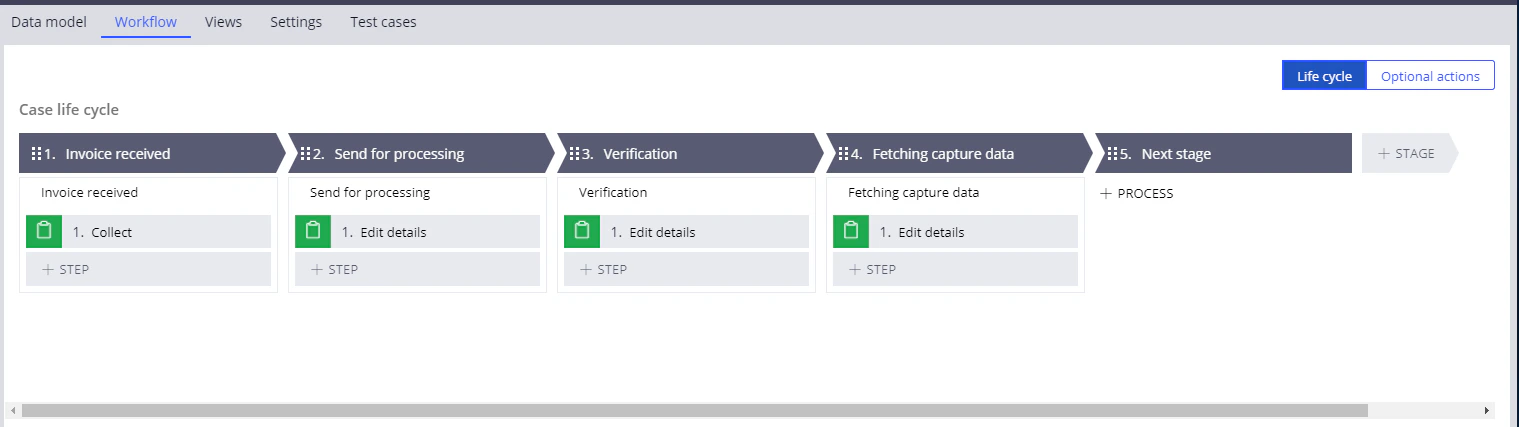
- On the Workflow tab, click Add life cycle and create the following stages with the Collect information steps:
You can give any names to the stages and steps.
-
Invoice received is the first stage. At this stage, documents can be added to the case.
- Send for processing is a stage where invoice processing is initiated on the FC side and the program starts waiting for a processing status. At this stage, Pega
-
extracts an image from the case attachment.
- sends the image to FC for processing
- records the FC batch identifier in the case fields
- waits for the batch processing to finish
- updates the case field containing the verification URL if the batch has stopped at the verification stage
- proceeds to the FC data fetching stage if the batch has been processed completely
-
Verification – At this stage, a verification page is embedded in the case interface using the iframe element.
- Fetching captured data – At this stage, export results are downloaded from FC and the case fields are filled in.
- Next stage – You can use this stage to include more steps.
- Click Save.